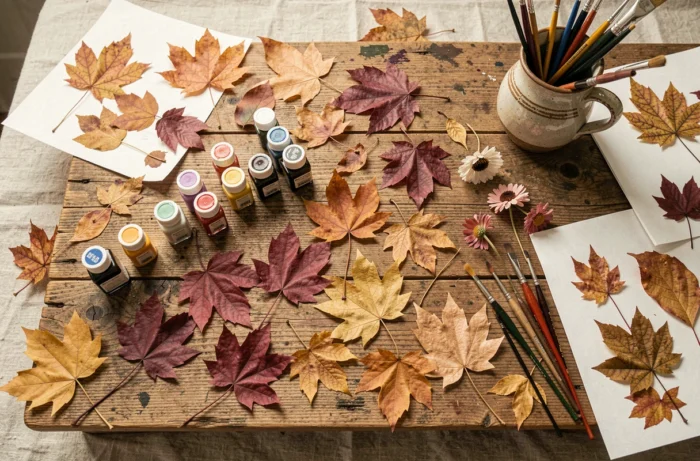
Painting on dried leaves transforms a material collected in the forest or garden into a true artistic medium. This activity, accessible to both adults and children, requires little equipment but some technical precautions to achieve a lasting result. Here are ten concrete techniques, listed in no particular order, to vary the outcomes and uses.
1. Geometric Mandala with Acrylic Paint
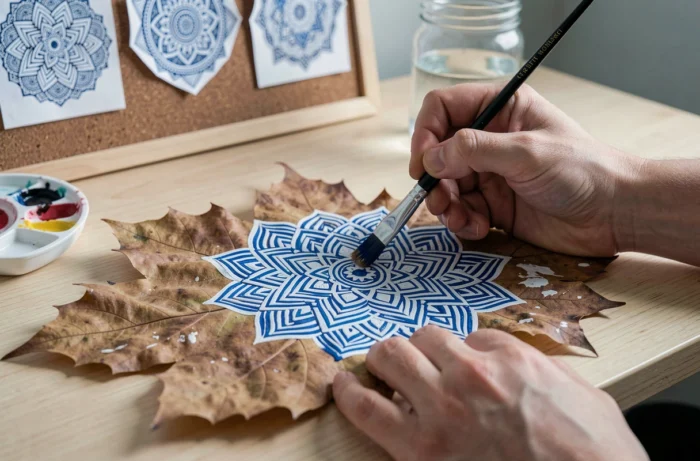
The mandala is particularly well-suited for large leaves like those of the plane tree or magnolia. The principle: start from the center of the main vein and draw symmetrical patterns radiating towards the edges.
Acrylic adheres well to the dry surface as long as thin layers are applied. A liner brush (size 0 or 00) allows for drawing regular dots and lines. Letting each layer dry before adding the next prevents the pigment from cracking.
To explore other ideas for painting on dried leaves, the mandala technique serves as a good starting point as it forgives small irregularities.
2. Miniature Landscape Painted on Maple Leaf
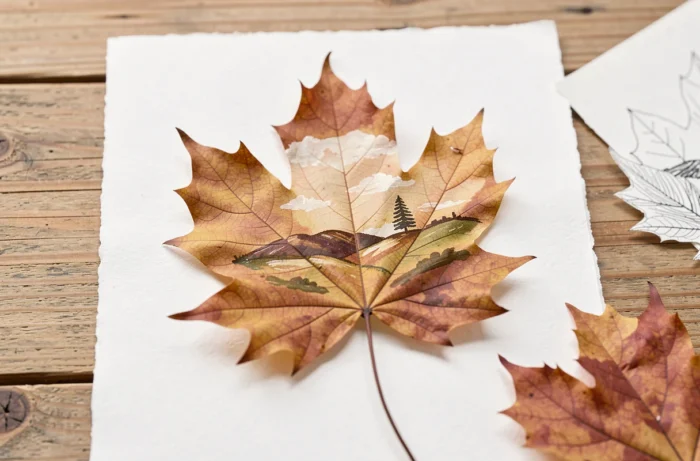
The palmated shape of the maple leaf creates a natural frame for a landscape. Mountains, forests, sunsets: the serrated edge of the leaf replaces the border of a classic canvas.
Working on a white background (a thin layer of gesso or white acrylic) allows the colors to stand out more. Gesso stabilizes the surface and prevents excessive pigment absorption. Apply the background at least an hour before painting the design.
3. Plant Imprints with Gold Ink
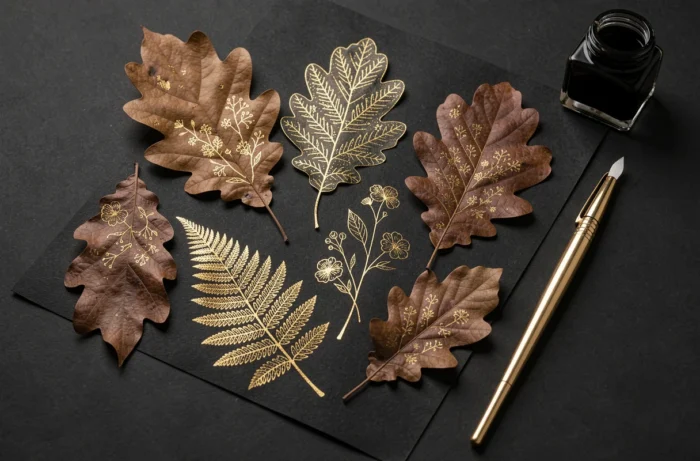
Metallic ink (gold, copper, silver) applied with a stamp or flat brush gives an immediate decorative result. This technique works well on leaves with marked veins, as the relief captures light unevenly and creates a textured effect.
Fixing the leaf onto a rigid cardboard with a repositionable glue dot makes handling easier. Oak and hazel leaves offer the most pronounced veins for this type of rendering.
4. Animal Decoration with Posca Markers
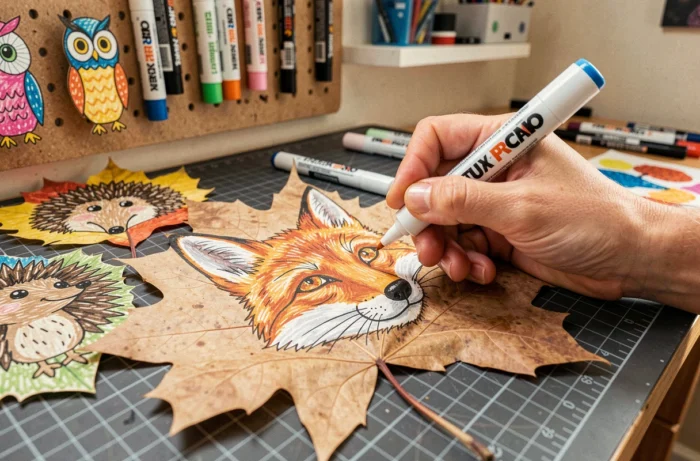
Posca-type paint markers allow for precise lines without having to manage dilution. Drawing an animal (fox, owl, deer) directly on the dried leaf produces a sharp graphic result.
The fine tip (0.7 mm to 1.3 mm) is suitable for small leaves, while a medium tip (1.8 mm to 2.5 mm) works better on larger leaves. Let the marker dry in the open air for at least fifteen minutes before handling the leaf.
5. Autumn Garland with Painted Leaves
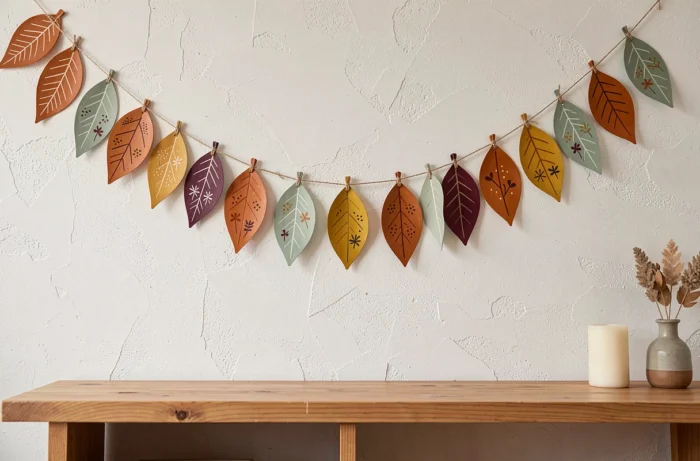
Painting a series of leaves in gradient tones (yellow, orange, red, burgundy) and then hanging them on a jute string creates a seasonal garland. Punching a small hole at the top of the petiole with a thick needle is enough to thread the string.
Applying a matte spray varnish after drying protects the colors for several weeks. Without varnish, the acrylic pigments hold but may chip if the leaf is frequently handled.
6. Reverse Stencil with Leaves and Spray Paint
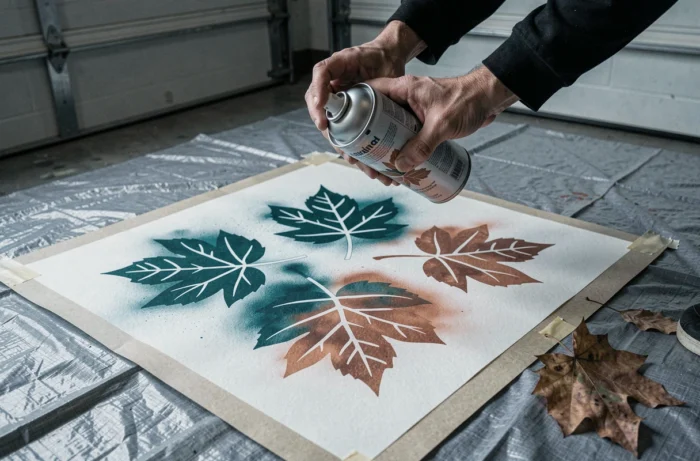
Here, the leaf serves not as a canvas but as a stencil. Place dried leaves on a sheet of thick paper or canvas board, then lightly spray with spray paint. Removing the leaves reveals their silhouette in negative.
Working outdoors or in a very ventilated space is essential. Flat and flexible leaves (lime, birch) adhere better to the surface and produce sharper outlines than crumpled leaves.
7. Abstract Patterns with Watercolor on Pressed Leaves
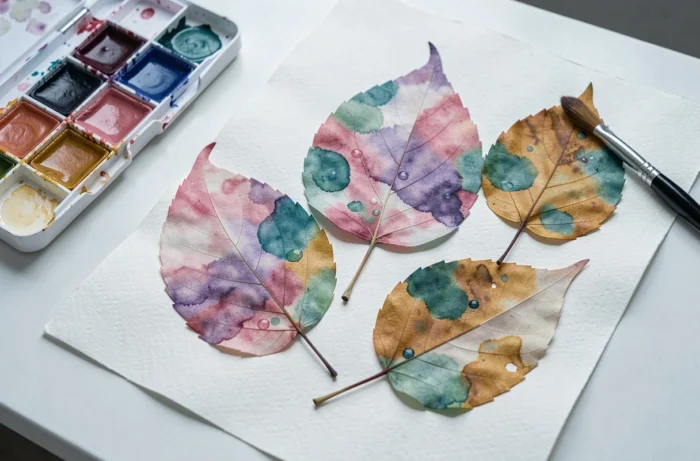
Watercolor reacts differently on a dried leaf than on paper. The pigment glides over smooth areas and accumulates along the veins, producing unpredictable effects.
Pressing the leaves in a thick book for at least a week before painting ensures a flat surface. Watercolor requires a perfectly flat leaf to prevent water from pooling in the crevices. Apply water sparingly, as excess softens the leaf and weakens it.
8. Stylized Faces and Portraits

Oval leaves (laurel, magnolia) resemble the shape of a face. Drawing a simplified portrait, with a few lines for the eyes, nose, and mouth, transforms the leaf into a small piece of wall art.
Using a white pencil or gel pen on a dark leaf (walnut, chestnut) reverses the usual contrast and gives an elegant rendering. This technique is suitable for beginners, as the minimalist style does not require great precision.
9. Leaf Decoration with Melted Wax
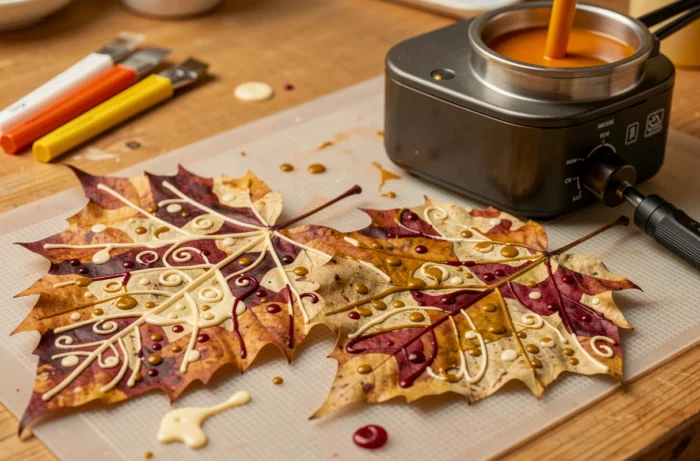
Dipping a dried leaf in melted beeswax lightly tinted with pigment tablets makes it flexible and translucent. The wax preserves the leaf from degradation and gives it a satin finish.
- Melt the wax in a double boiler at moderate temperature to avoid burning the leaf
- Dip the leaf for a few seconds, then hang it above a newspaper to drain excess
- Add powdered pigment (turmeric, paprika, spirulina) directly into the wax for natural shades
The wax retains the flexibility of the leaf and prevents it from crumbling. This process is particularly suitable for thin leaves that would otherwise break at the slightest contact.
10. Framed Composition with Painted Leaves and Pressed Flowers
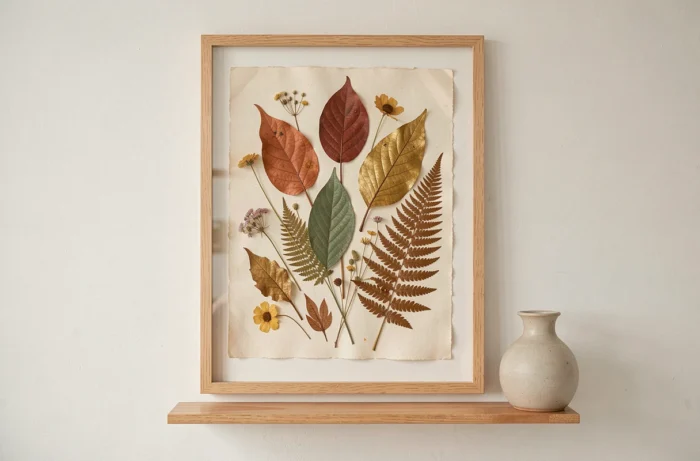
Combining painted leaves with dried pressed flowers in a glass frame creates a contemporary decorative herbarium. Arrange the elements on a background of kraft paper or tinted cardboard before closing the frame.
Fixing each piece with a micro-dot of acid-free glue prevents slipping inside the frame. A frame with UV-filtering glass protects the pigments from fading if the composition is exposed to direct light.
One last point deserves attention for activities with children: several batches of gouache and acrylic paints from the Lefranc Bourgeois Enfant range have been subject to official recalls in France for lead migration exceeding the thresholds of standard EN 71-3. These products, sold between January 2024 and February 2026, must be withdrawn from all use.
Checking the compliance of the paints used, especially with young children, remains a precaution not to be overlooked before starting.